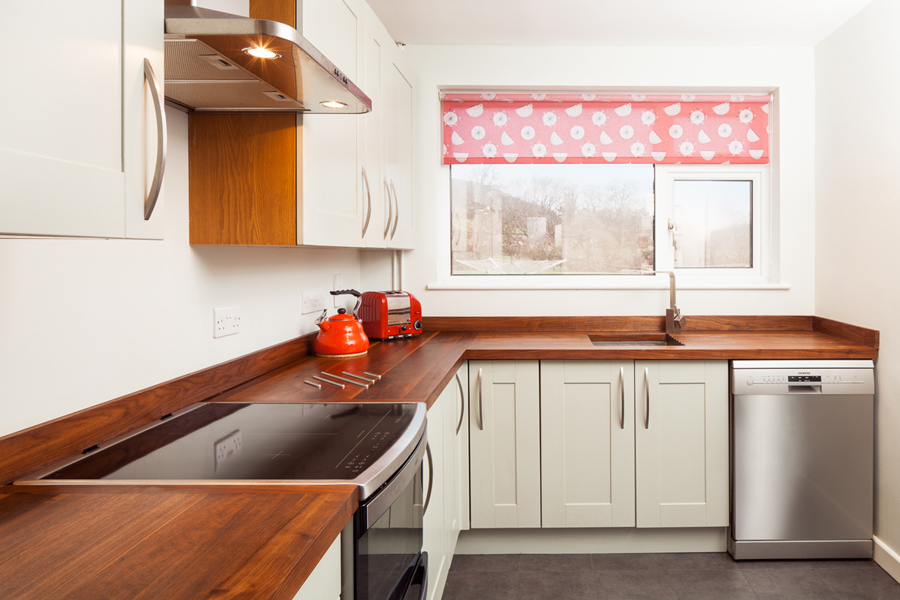
Whilst wood makes fantastic wooden kitchen worktops, kitchen cabinets, and much more in-between, sometimes it is nice to break up swathes of wood with another tactile material. Tiling kitchen walls can provide an attractive and protective layer, whilst adding flashes of colour, gloss or industrial charisma to oak kitchens.
Tile Choices
Tiles come in a number of sizes, from miniature ‘mosaic’ style tiles all the way up to jumbo-sized tiles of a foot across or more. There’s a whole host of different designs, too. Some are simplistic glazed ceramic options that are relatively cheap, whilst others have the appearance of rustic bricks, luxurious marble or even metals and glass. No matter what kind of kitchen theme you’ve plumped for, there is a style of tile to match.
How To
Tools Required:
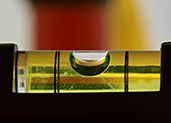
- Spirit Level
- Tape Measure
- Notched Spreader
- Sponge
- Tile Cutter
- Tile Spacers
- Waterproof Adhesive
- Grout
- Squeegee
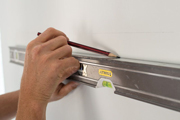
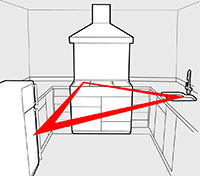
Step 1: Planning
It’s first suggested to make a tile ‘batten’ from a small piece of wood, which is the length of at least two of your chosen tiles. First, mark the positions of the tiles (allowing a gap that matches your tile spacers) on the batten. You can then use this batten to gauge tile layout on your wall and accurately plan the tile positions. Depending on the area you are tiling, you may want to attach the batten to the wall to give yourself a secure starting point.
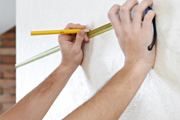
Using the batten, carefully assess how to best position the tiles on your wall. If you’re really well organised, you will have chosen a tile with a size that is easily divisible by the width of your wall, to avoid unsightly narrow sections of tile at each end of the wall.
Make careful considerations about which end you should start tiling, as generally the last areas to reach will have to be finished with cut sections of tiles. They look especially unsightly around windows and doorways, so plan your tiling carefully first – you may even want to consider drawing a mock-up of your tile design onto graph paper beforehand.
Step 2: Applying Adhesive
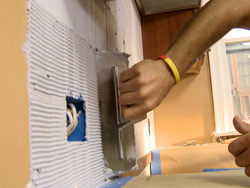
courtesy of DiyNetwork
If you’ve used two battens to form a corner in which to start, then this is a logical place to begin. Otherwise, you might want to apply masking tape to close-by surfaces and upstands to protect them from the adhesive.
Apply the adhesive evenly over the space you plan on tiling first using a notched spreader. You can apply adhesive to the entire area if it’s not very large, but take care as the adhesive can cure before you’ve managed to affix all the tiles. Ideally you shouldn’t need to apply adhesive in more than 50cm patches to avoid it drying too soon.
Ensure you thoroughly clean the wall you’re planning on tiling, and sand down rough surfaces where necessary. Flexible adhesives are recommended for application to materials that may expand or contract with temperature change, whist we recommend choosing a waterproof adhesive for around sinks.
Step 3: Mounting the Tiles
Now that you’ve applied adhesive, it’s time to place tiles onto the wall, starting with whole tiles. Push the tiles into the adhesive and use small sliding movements to position them correctly – don’t remove and re-apply tiles if it can be helped, it will make the adhesive less affective.
When tiling around windows, sinks or doors, make sure you fix any whole tiles first. It’s a lot easier to place cut tiles when the surrounding whole tiles have been set into position.
Use a tile cutter or cutting jig to score and break the tiles neatly into straight lines. Remember to measure the tiles on both sides to ensure you’re making the cut straight, and also consider that pre-existing lines in a building are not always parallel, so you might need to allow for any sloping ceilings.
Plastic tile spacers will help you space apart tiles evenly – you should use two for each side (unless the tiles are very small).
Step 4: Grouting the Joints
Once all your tiles are firmly fixed to the wall, it’s time to fill in the gaps with grouting. Usually white grouting is best, though other colours are available to match your tiles. Apply grout to the gaps and wipe the excess off using a squeegee. Work only on small areas at any one time to avoid it drying before settling in place.
Work the grout in every direction, taking care to push grout into all joins and gaps. To straighten it all out afterwards, use a small piece of dowel, thin spatula or cut-up credit card.
Using a damp sponge, wipe off any excess grout before it has fully set, and once the tiled surface has dried, polish with a clean cloth.
Tiling Alternatives
If you don’t like the idea of tiling your kitchen, or it simply doesn’t go with your design theme, there are other alternatives to consider instead.
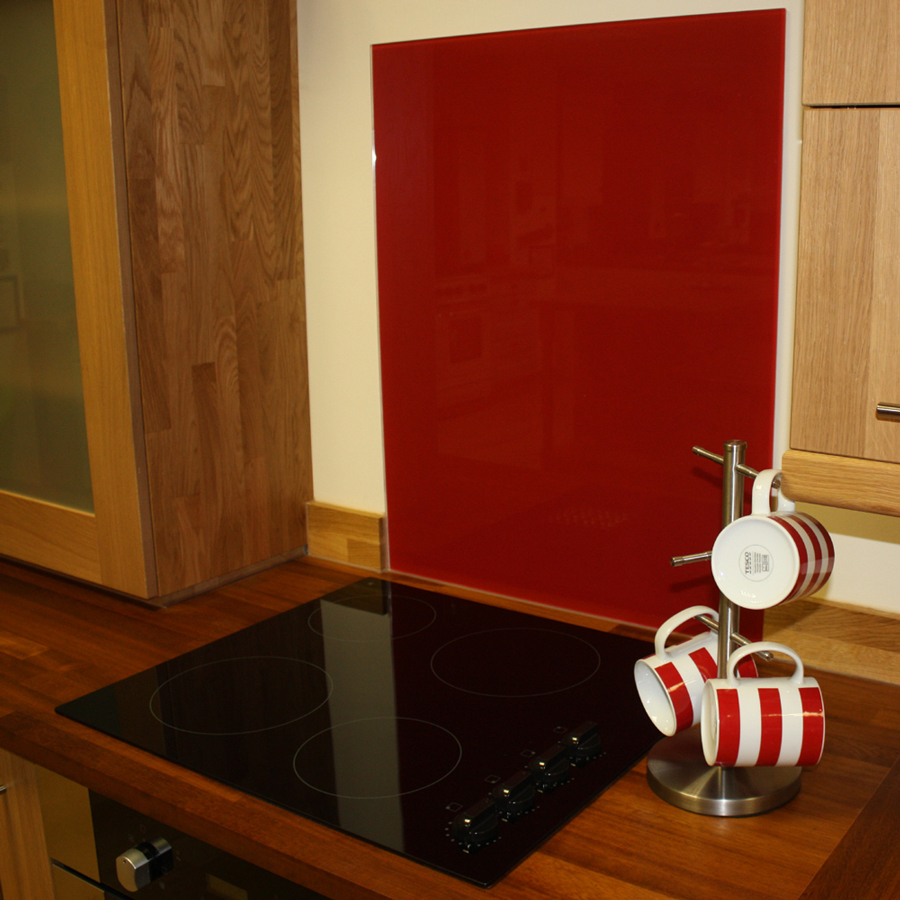
The easiest way of protecting an area behind a cooker or sink is using glass or stainless steel splashbacks for kitchens. We provide splashbacks in a range of gorgeous colours, including red, white, black, magenta and more. Our stainless steel and black stainless steel splashbacks are ideal for ultra-modern kitchens.
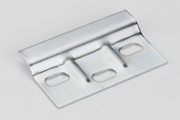
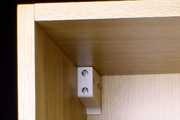
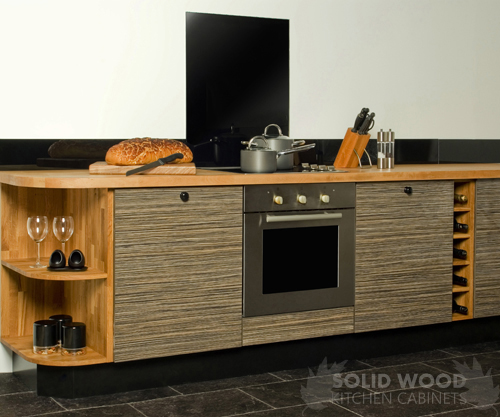
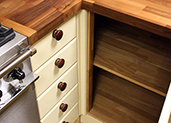
Another alternative to tiles is a run of solid wood upstands. Upstands are available to match all of our worktops – from oak to wenge, and will cover the gap between the wall and worktop, whilst adding a layer of protection. Many modern kitchens favour an upstand and bare walls, as these are high enough to catch the majority of ‘splashes’.